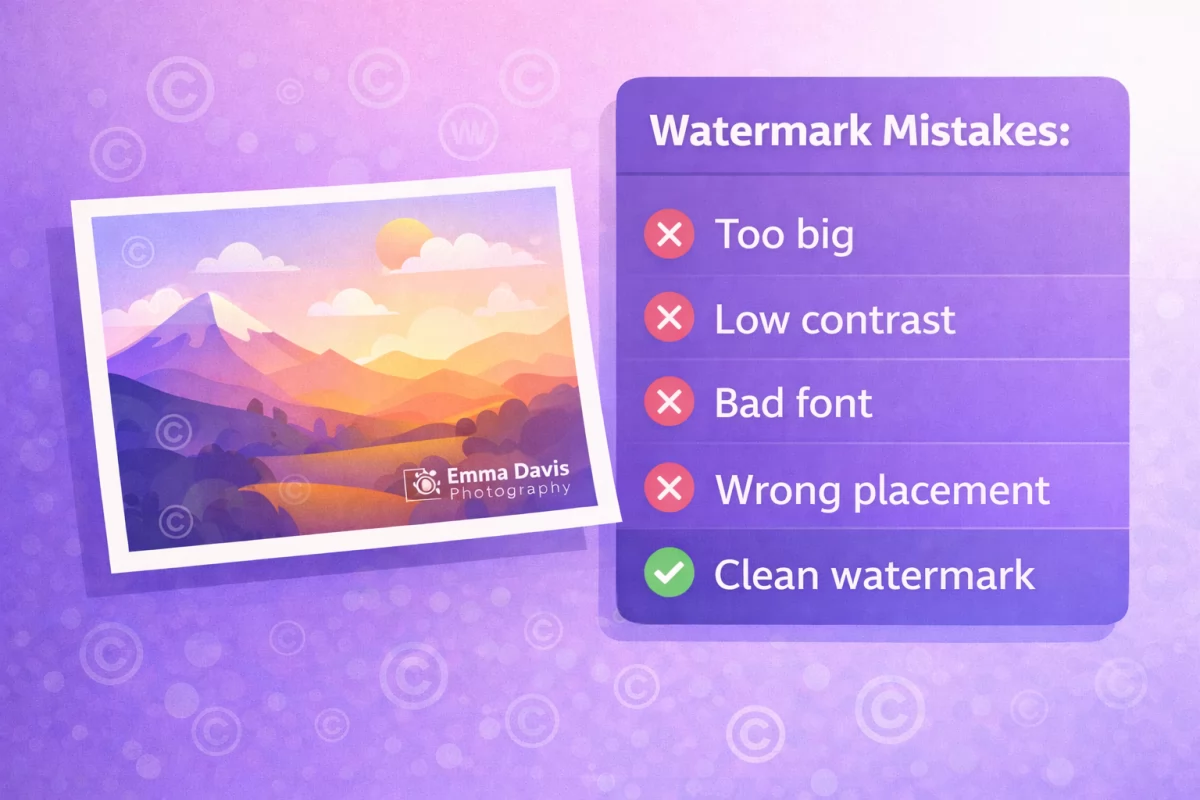
Why Watermark Your Photos?
In today's digital world, images are shared across the internet in seconds. Whether you're a photographer, designer, or content creator, protecting your visual work is essential. Watermarks serve as a visible deterrent against unauthorized use while keeping your brand visible.
Getting Started with Watermark.pro
Watermark.pro makes the process incredibly simple. Here's how to get started:
- Open the app and drag your image onto the canvas
- Add a text layer with your name, brand, or copyright notice
- Customize the font, size, color, and opacity
- Position your watermark by dragging it directly on the canvas
- Export in your preferred format at full resolution
Text Watermarks vs. Image Watermarks
Text Watermarks
Text watermarks are the most common choice. They're quick to set up and highly customizable:
- Choose from hundreds of Google Fonts
- Apply gradient fills for a modern look
- Add shadow and outline effects for better visibility
- Use blend modes to integrate the watermark naturally
Image Watermarks
For brand consistency, use your logo as a watermark:
- Upload any PNG, JPG, or WebP image
- Adjust scale and transparency
- Rotate to match your composition
Pro Tips
- Opacity matters: A watermark at 30-40% opacity is visible without being distracting
- Use tiling for maximum protection on stock photos
- Save presets so you can apply the same style to all your images instantly
- Batch process entire photo shoots in one click
Conclusion
Watermarking doesn't have to be complicated. With the right tool, you can protect hundreds of images in minutes while maintaining a professional look.